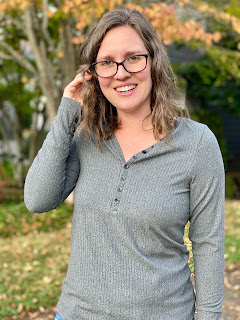
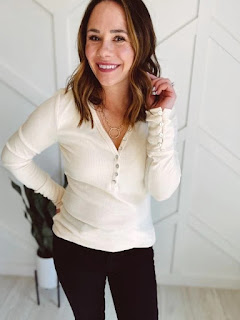
Love Notions Breckenridge: Button Cuff Detail
One of my favorite patterns of 2021 is on sale today! To celebrate, I found a Pinterest inspiration that I just had to copy. It's a hack that can be used on any pattern with a cuff though so use this tutorial however you'd like. I'm using the Love Notions Breckenridge Henley and modifying the cuffs to have a button detail.
Supplies Needed
Love Notions Breckenridge PDF Pattern
Buttons - I used 5/8" inch buttons x 14 count
Buttonhole Gauge (optional)
Modification Details
Cut all pieces according to the tutorial except the cuff. Follow the tutorial to construct the bodice completing everything except the cuff. In the tutorial for fit, it recommends sizing down if between size. I've decided to do that and made a size small here.
I've made this pattern in hacci, thermal, rib knits and pointelle. This time I'm using a wide lush rib knit that has 4-way stretch from Mily Mae Fabrics.
For the cuffs included in the pattern they are designed to be more fitted at the wrist. I decided with the button detail, I wanted it to be a straight cuff instead. All you need to do is cut a straight rectangle. I used my straight ruler to cut from one corner to the other. Repeat so you have 2 cuff pieces.
Fold right sides together, matching short sides marked below. This is important! It's the opposite of how you'd normally fold a cuff.
Attach the cuffs to your completed Breckenridge using the instructed 3/8" seam allowance. You're all done and ready to enjoy your new henley with button cuff details.
Want to see more Breckenridge's I've made? I have a pattern review here.
I also used the Breckenridge for a PJ set that I blogged about here.
I've also made a video on how to add bishop sleeves to the Breckenridge on the Love Notions YouTube channel.
Don't miss out on the Love Notions Breckenridge sale while $5 through October 21, 2022. Plus, use the code KATIEK10 to get an extra 10% off any purchases.
My posts may feature affiliate links. This means if you make a purchase from these links, I receive a small percentage in compensation at no cost to you. I may have received patterns or products to test or review but the opinions I voice are my own.


Comments
Post a Comment