Reversible Hidden Seam Swim Trunks
How to make reversible hidden seam swim bottoms!

I've been thoroughly enjoying making my children swimwear this year. With that, I decided to make the most of it and make their swim shorts reversible!
My go-to pattern right now for boys swim bottoms is the Palm Euro Suits from Sew Like My Mom. These bottoms come in 3 lengths and range from size 12month-8. What I really like about these bottoms is that there are two construction options. My oldest has sensory issues with clothing so having a construction option with hidden seams is key. The other option is with exposed seams. For this tutorial, I used the hidden seams steps.
Here's the steps I went through to maintain the hidden seams and yet also have reversible swim bottoms. For the hidden seams, start with Step 7 of the Palm Euro Suits tutorial. Rather than using a lining, for the reversible option, use all swim fabrics. These photos are for the size 6 jammers (longest length) with one side being red star swim and the other a navy swim. The stars is from Mily Mae Fabrics that was a limited print. The navy is from Joann since I forgot to order a coordinate. Completed steps 7-10. Your pieces should look like below.

Now that you have both main pieces sewn together and the waistband ready, clip it to the right side of the "main" fabric. In this case, the red stars will be referred to as the "main".

Place the "inner" or blue fabric over the waistband with the right side against the waistband. The wrong side will be facing out.

Serge this seam with all 4 layers together.

Pull through one leg until the right sides are facing out. Nestle the shorts so the wrong sides are facing and it looks like shorts. Now we will finish the last seam, the legs.

To have hidden seams, turn the bottom hem of the main fabric 1/2" under. I find with swim knit ironing doesn't help. I turn it under 1/2" then use a clip to hold it in place.

Repeat all the way around. Do the same for the inner (blue color) on the same leg and clip them together so they match.

Repeat with the other leg.

Take your shorts over to your sewing machine to finish the hems. I used the honeycomb stitch as highlighted below. You can use any stretch stitch for this step or a coverstitch machine. If you use a coverstitch, the other side will have a reverse coverstitch look to it. I chose to use a hem allowance of 3/8".


Now you are done! My kids both have reversible swim trunks to enjoy for the holiday and beyond!
 |
| Left: Size 6 Jammers, Right: Size 3 Trunks |
For the sets, I made the Reagan Raglan. I tested this pattern and wrote a post about it here. It's been my go-to for my kids and niece this summer so far because it's such a quick sew.

I've been wanting to use my Silhouette Cameo 3 to add Heat Transfer Vinyl (HTV) to swim for a while and finally did it on this project. I purchased this cut file from Thread & Grain to use on shirts. Then I realized I had overcommitted to projects and decided adding it to swim shirts would be the perfect answer. If you are ever looking for adorable cut files, Katy at Thread & Grain is the first place I look. She's brilliant and comes up with the cutest ideas. *If you don't have a HTV cutting machine you can also purchase a pre-cut iron-on from the Thread & Grain website.

From my research, the best HTV product to use on swim is the Siser Stretch HTV. For this project I used the navy blue color. I used my heat press set at 305 degrees for 15 seconds twice. I did add a teflon sheet over it to protect the swim. It was very hot after pressing but I had no issues with it burning or discoloring. If you don't have a heat press, an iron will work too. I found my iron very difficult to use for vinyl though as it's not easy to know the temperature it's set at. *Pro tip: While you are adding your HTV to the front, print a size label and add it to the back at the same time.


I chose to apply the HTV before I constructed the rash guards. I cut the front bodice piece, applied the HTV to the right side with my heat press and then continued with the construction. Alternatively, you could choose to add the HTV after the item is completed. I would recommend using a pressing pillow to ensure you get a consistent and good press.
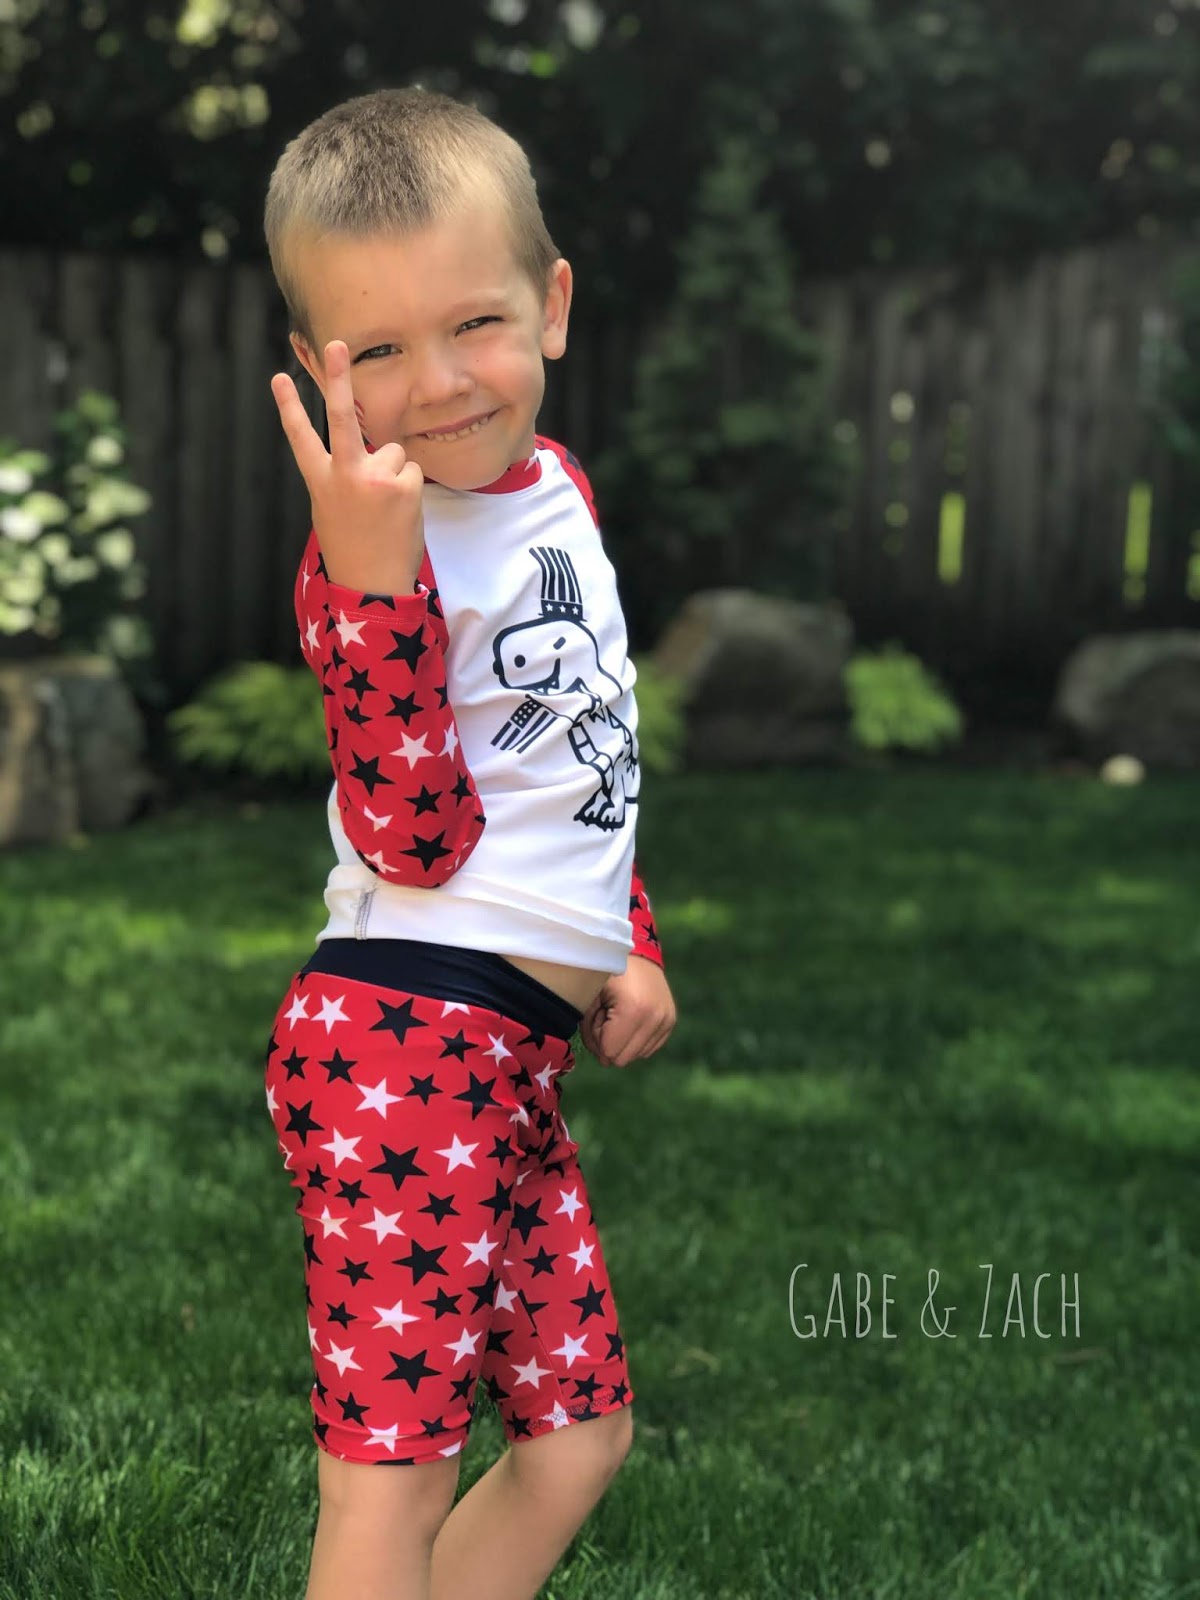
I really love the completed look with the red star raglan sleeves paired with white swim. My boys looked adorable at the pool today and love their new suits.
My posts may feature affiliate links. This means if you make a purchase from these links, I receive a small percentage in compensation at no cost to you. I may have received patterns or products to test or review but the opinions I voice are my own.


Comments
Post a Comment